Development on the RPi
2019-02-23 · Raspberry Pi IoT
Single board computers (SBCs) have become a really popular choice as the “brain-box” for projects and Raspberry Pis (RPis), in particular, have established a strong hold of the market. There are several really impressive projects based on RPis like spectrometers or controllers for beer brewing. While SBCs are popular and widely used, people seem to still be fairly unfamiliar as to how to efficiently develop software with or for them.
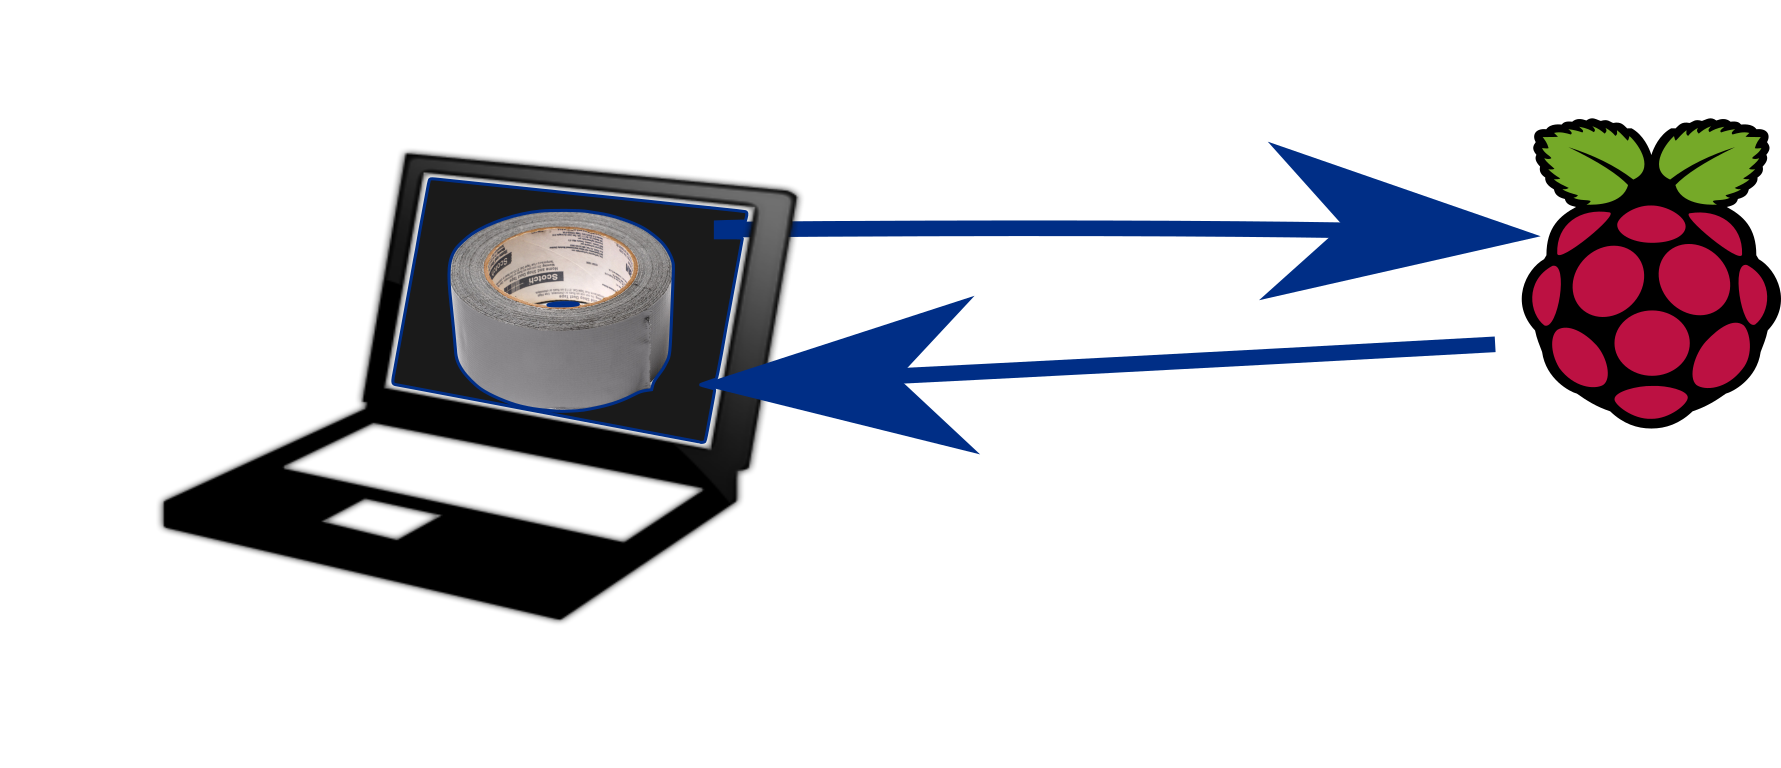
I think this might be another example of how engineers or hobbyists working outside of their comfort zone tend to stick with the first functional solution instead of making the effort to find better ones. For example, non-mechanically-oriented engineers may be happy to use duct tape for attaching pretty much anything to anything. Similarly, mechanical engineers working on software tend to spend very little time thinking or researching about development tools and just use “duct tape”-solutions for development.
To be clear, I’m talking about development tools and not the software itself or code quality. I think this is a really important distinction. Seeing as some people at MIT have made a course focused just on tools, “tool awareness” seems to be a pretty common issue. While there’s nothing wrong with duct tape, I’ll try to go through a fairly common problem and introduce a better-than-duct-tape solution for it.
The Problem
If you have developed software for the RPi you are probably fairly familiar with figuring out some way to efficiently edit and test your code. Usually, you might have some sensors or actuators hooked up to the RPi via the GPIO, USB or something else. This means, you can’t just write software on your laptop because you have to run it on the RPi since that’s where everything is connected.
The duct-tapey way of tackling this development predicament is to just write your software on the RPi directly. It’s a normal Debian install, right? And there are plenty of IDE’s pre-installed with the standard RPi images? Well yeah, but don’t expect it be a smooth experience. Even with a RPi 3B+, running the Pixel-desktop is laggy at best. Starting a browser to look something up on Stack Overflow takes dozens of seconds. Running a VNC is only slightly less aggravating. If you have done it this way, you know it is really not a whole lot of fun. Even more egregiously people dismiss Linux because they had a rough development experience with an SBC.
Reducing the duct-tapey-ness
In some ways this is a fairly standard remote deployment situation but there are few caveats which may warrant the use of a slightly different approach. I guess the standard remote deployment workflow is based on Git. You can write your software wherever and then just git push and pull when you want to test it. You could even use something like webhooks or even Travis for fancier deployment. Still, this doesn’t really work if you want test really small increments that don’t really warrant a commit of their own. You should be using Git, but maybe we need some sort of intermediary setup for the faster paced testing.
It’s fairly common practice to use SSH With the Pi. It’s really great for headless development. I highly recommend SSH as the primary means of interacting with RPis. After setting up SSH I usually install tmux and then it’s pretty much off to the races. You could even mount the RPi filesystem with sftp (or any other network share flavor for that matter) and manage and edit the files to your hearts content.
While you can do everything via ssh and tmux you might run into some issues. First of all, the connection might break. While SSH is quite robust, it’s not unfathomable that it will drop occasionally. Of course you could use something like Mosh, but I won’t go into that here. Ideally, our development wouldn’t happen solely on this SSH connection. Furthermore, with this approach all the files live just on the RPi. Even with Git you might still lose something.
Now with 90% less duct tape
So what should we do then to get a better development experience? Ideally, we want something where we can write our software on a laptop and have the source files automagically sync with the RPi. Like Dropbox, but locally instead of running through their servers. When we want to test our code, we just run it via the SSH terminal.
First I thought I would have to do this myself using entr to monitor the files and rsync to sync the folders. Luckily for us though we don’t have to do any mash-upping since a tool for just what we want already exists: lsyncd. Lsyncd (Live Syncing Daemon) synchronizes local directories with remote targets, which is exactly what we want. It’s based on rsync and seems to be fairly well put together. They list a bunch of options their GitHub readme but I haven’t really tried them.
Setting up
So of course first you have to go through the rigmarole of setting up the RPi. I won’t go into this since there are plenty of tutorials on it. I usually use the minimal Raspbian image and set it up to connect to a wifi network directly on first boot.
PRO-TIP: Placing an empty file named ‘ssh’ in the boot partition will enable ssh on first boot.
PRO-PRO-TIP: To find out the IP of the RPi you can arp-scan and grep based on MAC address. You could of course use hostname lookup or look into your routers DHCP leases. Then there is also PiBakery.
Alright so now we have the booted up and we have an SSH connection. You can use tmux here. I usually do since having more than one shell at a time comes in handy. To set up lsyncd we need to have ssh access without password prompting. You can set this up with ssh-copy-id. I recommend setting up separate keys for this. Lsyncd also has a password file option if you don’t want to use ssh-keys.
On the RPi we just need to install rsync
sudo apt-get install rsyncOn the development computer (I use my laptop) you need to install lsyncd. I’m currently running Arch so I installed it from AUR but it seems available for other distributions as well. To start syncing, I cd in to the project folder and run the command below on my laptop :
lsyncd -nodaemon -delay 0 -rsync . pi@192.168.1.231:/home/pi/ProjectFolderI prefer running lsyncd in nodaemon mode since then I can see the log output, and make sure it’s working. The -delay 0 means that we sync as quickly as possible basically after every save. The default delay is 15 seconds which might work better in some instances. The -rsync option means we use standard rsync, rsyncssh is also an option and might fit some situations better.
Now we can edit the source files on our computer and sync continuously and run our software via the SSH connection. I haven’t really tested this setup on IDEs (like Eclipse or Thonny) but it works great with a vim based development environment.
P.S.
I haven’t looked into how this sort of approach would work on Windows. These instructions might help you get started.
related posts
- Telegram emoji display 2020-08-17
- Keep your Wireguard up 2019-05-05
- 4G-dongle hosting 2019-04-21